Written by Daniela Rizza for her Blog
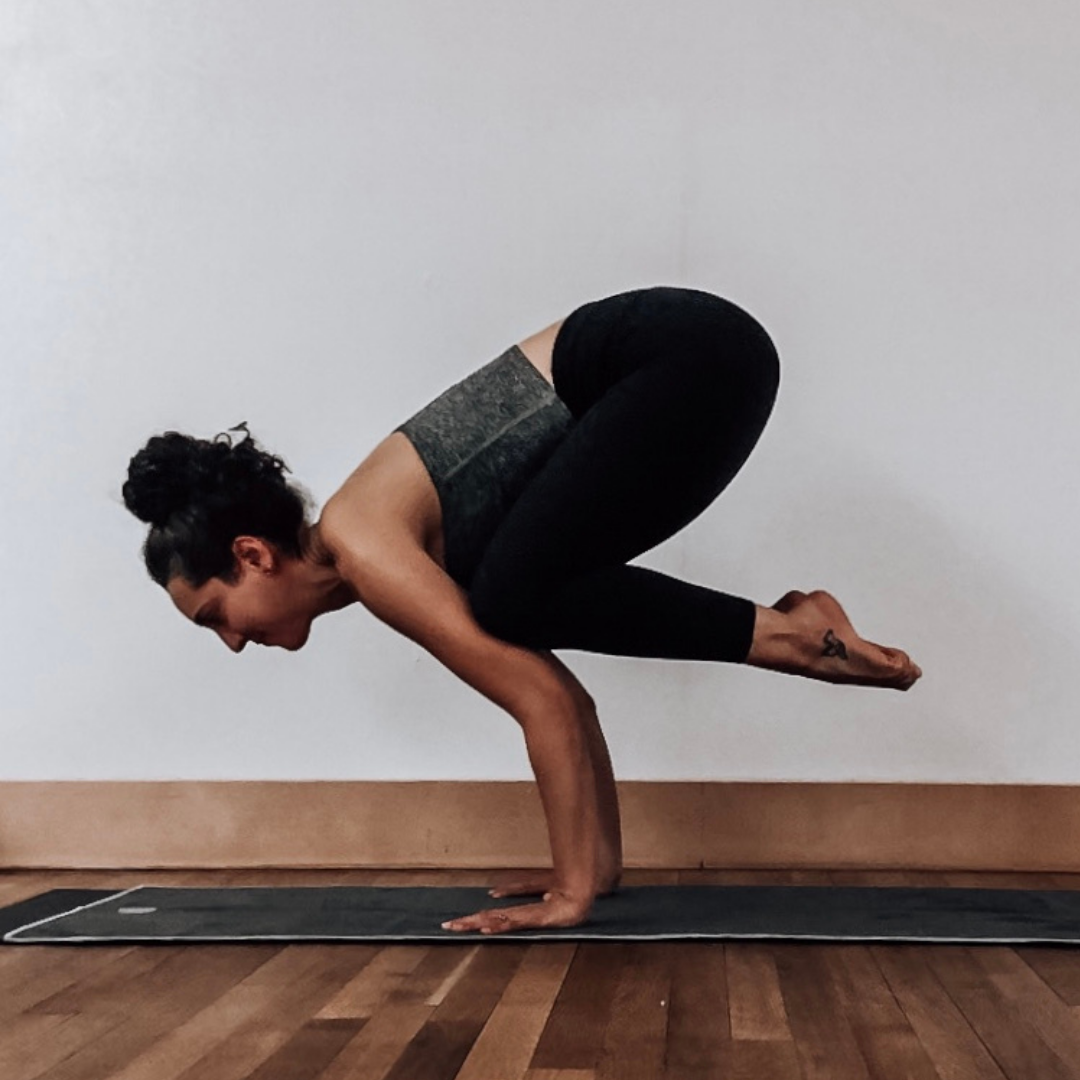
Whether you like it or not, Crow pose / Bakasana is one of the foundational arm balances that sets you up for many other arm balances; so if eventually doing all those poses is a goal of yours, let’s start here. These 4 moves are great for anyone looking to refine their crow pose or are still working on building up the strength and balance required to float.
Move 1: Yoga squat / Malasana
To make this shape:
Feet = hips’ width or wider; we want the toes pointing out so that the knees and toes are tracking in the same direction. The entire foot, including the heels, should be on the mat. If they don’t touch, don’t worry! You can either bring the mat to the heels by rolling it up a bit or elevate the hips on a block.
Arms = hands heart center, the backs of the arms press toward the inner knees/thighs.
Spine = long, tailbone reaches down toward the floor, and heart lifts upward.
To amp it up:
First, make sure the arms are strong and steadfast, then squeeze the inner thighs to the backs of the arms. Hold for about 3 breaths.
Next, with the arms as they are, pull the inner thighs away from the backs of the arms – we want to feel the outer bum and outer thighs engage. Hold for 3 breaths.
Move 2: Crow-boat
To make this shape:
Start from a seat and rock the weight back to balance on the sit bones.
Legs = shins parallel to the mat. Toes together and knees apart. I started to draw my heels toward my glutes a little bit to more closely mimic the shape of crow pose.
Arms = Reach the arms as far forward as possible. We are looking to create space between the shoulder blades. Outer arms touch inner knees. Feel free to extend the fingers toward the sky for some extra forearm action.
To amp it up:
Try to get the knees as close toward the shoulders as possible. We want to curl up tightly (remember – trying to look like crow pose here).
Just like in our squat, arms are steadfast! Press the knees toward the arms, and the arms resist. Hold as long as you’d like.
Sometimes I like to add a block between my legs (the knees feel best for my body) and/or between the hands for extra engagement.
Move 3: Supported tricep push-ups
Now we’re getting closer to something that looks a little bit more like the crow pose we are going for.
To make this shape:
We start in a kind of malasana shape, balanced on the balls of the feet, knees wide.
Bring the knees as close toward the armpits as possible.
Remember the engagement found in our Crow-boat pose and harness it here (strong core, inner thighs engaged, and arms reaching forward).
To glide:
Reach the hands forward on the mat and glide forward. This isn’t really a hop or jump, nor is it a teetering to try to float sort of thing. We are attempting to seamlessly shift the weight from the feet to the hands and visa versa. In order to do that, we try to keep the bum low – this uses so much more core strength.
Then glide back to starting position
Repeat this as many times as you’d like; it’s really quite fun. To build up even more strength and control, try to decelerate the glide and allow yourself to find moments of float.
I hope these moves at least help you find a deeper understanding and connection to the way your body moves, whether you nail them or not. When it comes to how many to complete, that’s pretty much up to you. Sometimes I repeat all of these moves until fatigue, other times I work just a couple into a sequence. Whatever you choose to do, I encourage you to find a sense of playfulness, curiosity, and deep appreciation for all that your body is capable of doing already, because it’s a lot! And don’t forget to pat yourself on the back for trying new things, because THAT takes courage.